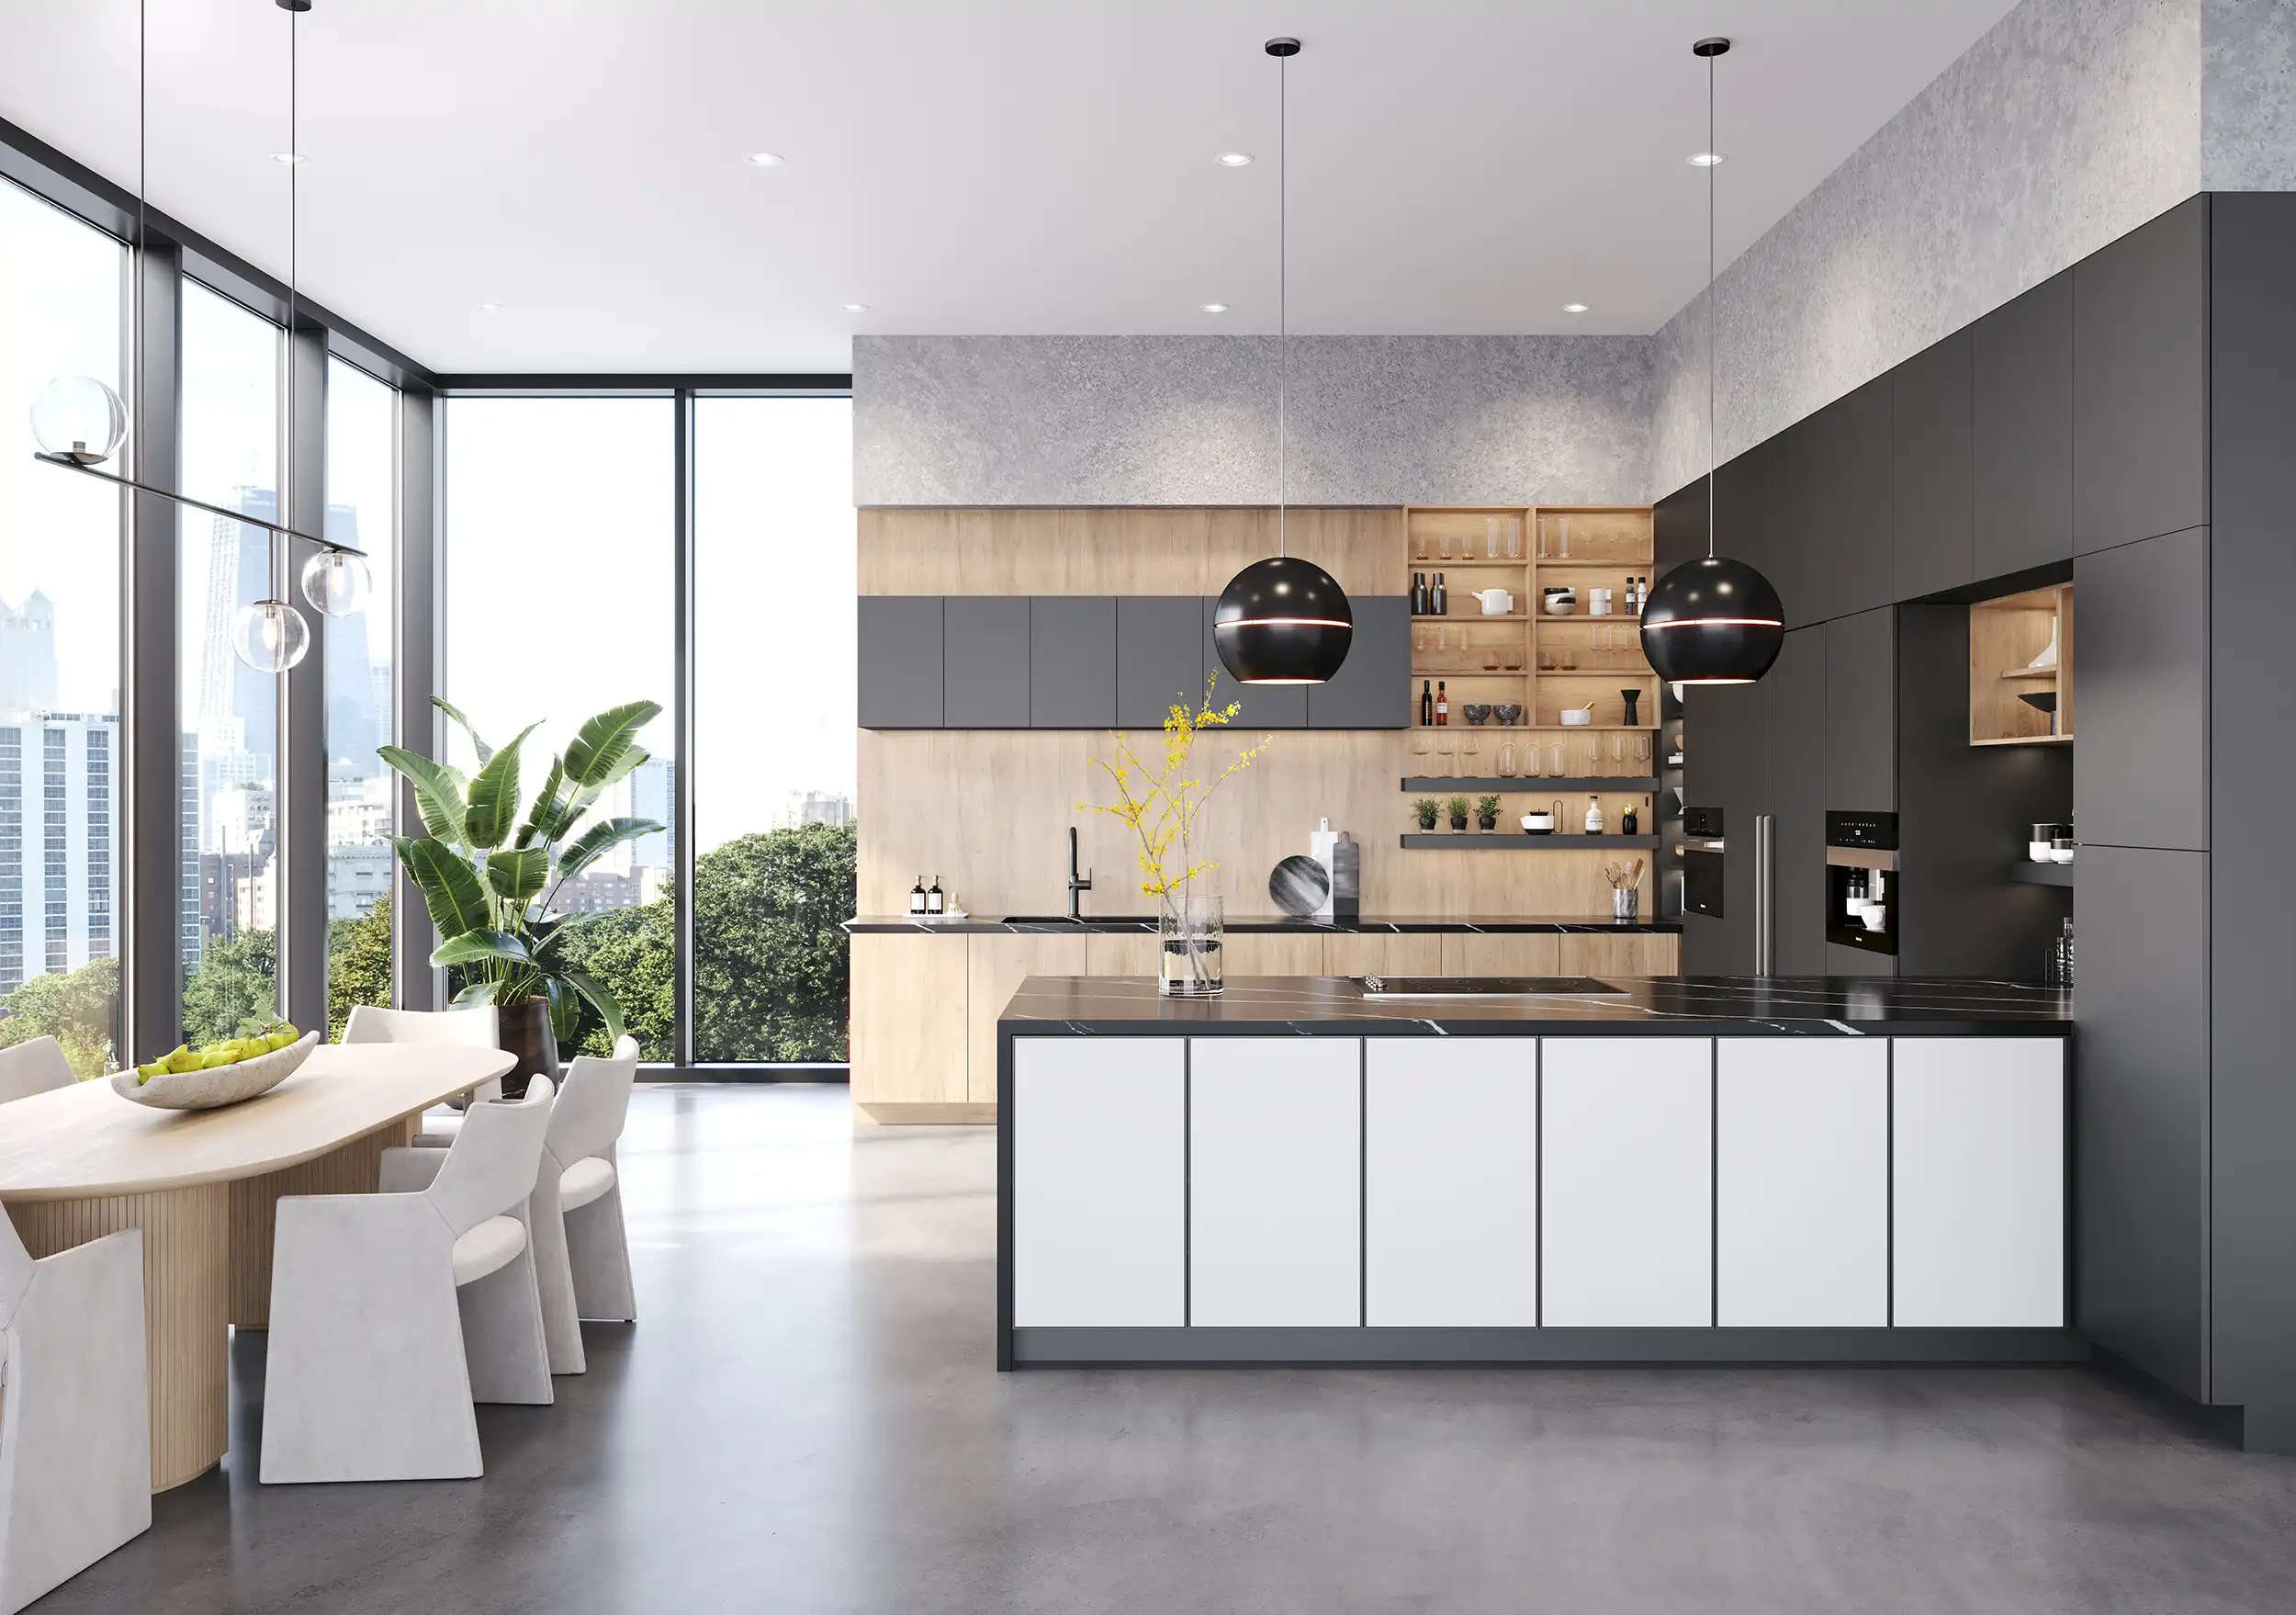
Chicago office to residential conversions usually need more than a few polished apartment renderings. A practical package typically includes site or context plans, typical floor plans, representative unit layouts, existing-versus-proposed elevations, sections where deep floor plates or atrium changes affect livability, interior and amenity views, and pedestrian-level frontage images that show how the building meets the street. Some projects also need targeted studies, such as sun or shadow diagrams, when outside impacts are part of the review.
The real question is not how many images to make. It is what each visual needs to prove next. A feasibility package can stay conceptual if assumptions are labeled. A permit or preservation submission needs more disciplined existing and proposed information. A lender package may need unit mix and floor-type logic, while a leasing set may need unit, lobby, and amenity views. In Chicago, that scope often expands again when sidewalk conditions, lobby frontage, or older facade conditions are part of the story.
Table of Contents
- The core visual package most Chicago office to residential conversions need
- Match the visuals to the decision: feasibility, review, funding, leasing, or coordination
- What has to be shown accurately in Chicago submissions
- Why street-level views matter as much as apartment renderings
- How to show that the conversion works inside the building
- What to prepare before you commission the visuals
- FAQ
- What to Do Next?
RM Design Studio
Planning a rendering project?
Talk with RM Design Studio about your project, the views you need, and your timeline.
The core visual package most Chicago office to residential conversions need
For most Chicago office-to-residential conversions, the minimum useful package is a mix of drawings and views, not renderings alone. The basic set usually includes a site or context plan, typical floor plans, representative unit plans, existing and proposed elevations, one or more sections where vertical relationships matter, interior views of apartments and amenities, and street-level before-and-after imagery.
Each item answers a different question. Plans show whether apartments actually fit the existing floor plate. Representative unit layouts show how a former office bay becomes a studio, one-bedroom, or larger unit. Elevations show what changes on the facade and at the entry. Sections are often the clearest way to explain daylight limits, deep floor plates, atrium revisions, or unusual floor-to-floor conditions. Renderings help nontechnical viewers understand the lived result.
That combination matters because a conversion has to prove more than appearance. It has to communicate residential feasibility, public-facing change, and basic livability before the building is finished.
A few deliverables deserve special attention:
- Typical floor plans to explain overall unit arrangement and circulation.
- Representative unit plans to show how individual apartments are laid out.
- Existing and proposed elevations to clarify facade, window, and entry changes.
- Sections through deep floor plates or atrium conditions where daylight and vertical relationships affect the concept.
- Lobby, amenity, and apartment views so nontechnical audiences can understand the resident experience.
- Street-level frontage visuals to show what actually changes at the sidewalk.
Some projects also benefit from targeted studies, but only when they answer a real review question. Sun or shadow studies can be useful when neighboring properties, streets, parks, or public spaces may be affected. Whether one is needed is project- and review-pathway-specific; a sun or shadow study may be requested when proposed impacts warrant it, and it is not a default item for every conversion package.
Match the visuals to the decision: feasibility, review, funding, leasing, or coordination
The best scope question is not, How many renderings do we need? It is, What decision must these visuals support next? That one distinction usually determines how conceptual or how exact the package should be.
If the team is still testing feasibility, the visuals can move faster and stay looser. Annotated concept plans, simple massing views, and a few representative interiors may be enough to test whether the office floor plate can support the target unit mix, whether amenity space makes sense, and whether the ground floor can be repositioned. At this stage, assumptions are expected. They just need to be labeled clearly so no one mistakes placeholders for commitments.
If the next step is permit, preservation, or public review, the package changes. Existing and proposed conditions need to be separated clearly. Facade revisions, entry changes, and street-level conditions need to be shown with more discipline. The point is not to make the imagery less persuasive. It is to make it reviewable.
If the audience is a lender, investor, or public funding body, visuals alone are rarely enough. That audience often needs program evidence alongside the imagery: unit counts, unit mix, floor-type diagrams, and plan logic that explain how the residential program fits the existing building. A compelling interior view may help them understand the product, but it does not explain how many apartments are being created or how repetitive office floors translate into workable residential layouts.
If the immediate use is leasing or broader public communication, representative units, lobbies, amenities, and arrival conditions usually move to the front of the line. Those views help people understand what living in the building might feel like before model units exist. Even then, the imagery should stay anchored to the actual plan and program rather than floating free as atmosphere.
Construction coordination may justify deeper BIM-linked detail, but that level of production is usually unnecessary if the project is still answering feasibility or communication questions.
A useful way to think about scope is this:
- Feasibility: prove the conversion could work.
- Review: prove what is changing and what remains.
- Funding: prove the program is credible.
- Leasing: prove the resident experience is understandable.
- Coordination: prove the information is detailed enough to build from.
What has to be shown accurately in Chicago submissions
When visuals are headed into a formal Chicago submission channel, the accuracy bar rises. That is especially true when permit or historic-preservation review is involved. In those cases, the package should clearly distinguish existing conditions from proposed conditions rather than presenting a single polished future state.
This is partly a graphics issue, but more importantly it is a review and trust issue. Reviewers may need to understand what is currently there, what is being altered, and what remains unresolved. If an image blurs those categories together, it becomes harder to evaluate. The same problem can surface when submission materials later circulate more broadly or become part of the public record.
That is why existing-building documentation matters so much in conversions. The reliability of the visuals depends on the reliability of the inputs. Existing windows, facade conditions, floor plates, structural constraints, entry sequence, and lobby frontage are not background details. They shape what can be shown credibly in the proposed design.
For a landmark-sensitive downtown property, that often means using a more disciplined proof set: existing-condition elevations, proposed elevations, annotated before-and-after views, and focused street-entry images that explain exactly how the facade and arrival experience are changing. If a window pattern is being retained, modified, or infilled, that should be shown clearly rather than implied loosely in an atmospheric rendering.
Aspirational imagery can be appropriate for leasing or early concept communication, but it should be kept separate from review-facing documentation when materials, furnishings, or facade decisions are still unresolved. Otherwise, a conceptual image can be misread as a final commitment.
Not every Chicago conversion goes through preservation review, and not every submission needs the same documentation depth. But once the visuals are serving a formal review purpose, accuracy is no longer optional styling. It becomes part of the submission's credibility.
Free Guide
Plan Better Renderings Before Your Next Presentation
Use this quick guide to prepare clearer visual direction before project meetings, marketing reviews, or stakeholder presentations.
- Clarify the views your team needs before rendering starts
- Compare exterior, interior, and amenity visuals with more focus
- Prepare stronger notes for design, leasing, or marketing discussions
Enter your email to access the guide.
Why street-level views matter as much as apartment renderings
Office conversions are often discussed as an apartment story, but in Chicago they are just as often a street story. For many downtown buildings, the most visible change is not on the upper floors. It is at the sidewalk, the lobby entry, the retail edge, the curb line, or the loading condition.
That is why street-level visuals deserve their own scope, not a leftover eye-level facade shot. A useful frontage image should help someone understand the pedestrian experience. That may include sidewalk clear width, curb location, tree grates, bike racks, benches, lighting, curb cuts, loading areas, doors, signage, and the relationship between the new residential lobby and the public way. Which elements matter depends on the actual frontage changes, but the view should explain more than surface appearance.
Measured or clearly informed overlays are often more helpful than atmosphere alone. If the proposal reworks the entry sequence, adds planting, changes storefront rhythm, or activates former office frontage, an image grounded in real sidewalk and curb information will usually answer more questions than a dramatic rendering filled with generic street life.
In practice, if the conversion materially changes the lobby, frontage, retail condition, or public realm, street-level and lobby views may be just as important as the apartment interiors. A package that ignores the sidewalk can leave the most publicly legible part of the project underexplained.
How to show that the conversion works inside the building
Interior imagery becomes far more convincing when it is tied to plan logic. A rendering of a finished apartment may help people picture the result, but it does not by itself show whether the conversion works inside the building. For that, the visuals need a supporting proof set.
The core interior proof set usually includes unit mix sheets, unit counts, floor-type plates, typical floor plans, and representative unit plans. Together, those items explain how the existing office floor plate translates into housing. They show whether the building is producing mostly studios, a mix of one-bedrooms and two-bedrooms, or some other arrangement, and how those units repeat or vary from floor to floor.
That program information matters because conversion questions are rarely only visual. An investor, lender, or ownership group may appreciate an apartment view, but still need to understand whether the plan supports a credible residential yield. Without unit counts and floor-type logic, the imagery can look finished while the core feasibility questions remain unanswered.
Sections become especially important when the building has deep floor plates, limited perimeter access, atrium revisions, or unusual vertical relationships. In those cases, a section may explain residential livability more clearly than another perspective view. It can show how daylight reaches typical units, where interior corridors sit, how shared spaces relate to existing structure, or why certain parts of the floor are better suited to amenities than apartments.
Representative interior views still matter. They help nontechnical audiences understand the proposed resident experience in a way plans cannot. The most useful set usually includes a representative unit, the main lobby or arrival sequence, and one or two amenity spaces that explain how former office space has been recast as housing.
The practical rule is straightforward: use renderings to show what life in the building could feel like, but use plans, diagrams, and sections to show why that picture is plausible.
What to prepare before you commission the visuals
Start by defining the purpose of each visual set. Are the images for feasibility, approvals, financing, public engagement, leasing, or coordination? One package may serve more than one use, but each use should be named up front. That decision affects what needs to be shown, how exact it needs to be, and who must review it for accuracy.
Then assemble the source information. At minimum, that usually means current architectural drawings, verified existing-condition documentation, unit mix data, target program information, and any usable source files such as RVT, IFC, or DWG files when they are available. The point is not to manage export settings personally. It is to make sure the visualization team receives current, identifiable source material instead of partial files and verbal assumptions.
Next, decide which spaces need explanation most urgently. That may be a model unit, a residential lobby carved from former office frontage, an amenity floor, a rooftop space, a retail edge, or a key sidewalk condition. A targeted camera list usually works better than asking for a generic set of interiors and exteriors.
Finally, label assumptions. If unit counts are still moving, if finishes are placeholders, if facade revisions are not approved, or if streetscape details remain under discussion, say so directly. Early concept imagery can still be useful under those conditions, but it should not present provisional information with false certainty.
Additional studies should be scoped the same way. If shadow effects on nearby streets or public spaces are part of the conversation, a sun or shadow study may belong in the package. If that issue is not actually in play, there is little reason to treat it as a default requirement.
FAQ
Do Chicago office-to-residential conversion renderings need to show both existing and proposed conditions?
Yes for permit- or preservation-facing materials. Those visuals should clearly distinguish what exists today from what is being proposed. Early feasibility imagery can remain conceptual, but assumptions should be labeled clearly and kept separate from formal review documents.
Are floor plans and unit-mix diagrams as important as renderings for an office-to-residential conversion?
Often yes. Renderings help people picture the result, but floor plans, unit counts, and floor-type diagrams show whether the conversion works programmatically. They are especially important for investors, lenders, reviewers, and anyone evaluating how the residential program fits the existing building.
When should a conversion include sun or shadow studies?
When potential impacts on neighboring properties, streets, parks, or public spaces are part of the review or discussion. They are situational tools, not standard requirements for every project. Include them when they answer a real external-impact question.
What source files and project information should be ready before commissioning visuals?
Prepare current drawings, verified existing-condition information, unit mix and target program data, and available RVT, IFC, or DWG files. Also define the intended use of the visuals and who is responsible for reviewing accuracy at each milestone.
Should street-level views be prioritized over interior apartment renderings?
It depends on the visible change and the audience. If the project materially alters the lobby, frontage, sidewalk condition, or ground-floor use, street-level views may be just as important as unit imagery, especially for downtown Chicago conversions.
What to Do Next?
Begin with the next decision, not the image count. Write down whether the package needs to support feasibility, approvals, financing, public engagement, leasing, coordination, or a combination of those uses.
Then separate the visuals into two categories: what can remain conceptual, and what must reflect verified existing and proposed conditions. That distinction will shape the right level of accuracy more than any generic rendering checklist.
Create a draft package that covers the actual questions the project has to answer. If unit feasibility is still the issue, prioritize plans, unit mix, floor-type diagrams, and sections. If the public-facing change is the issue, prioritize street-level frontage, lobby, sidewalk, and context views. If both are active, build a package that explains both instead of forcing one audience's needs onto another.
Before finalizing scope, confirm whether preservation review, permit submission, public disclosure, or other formal review conditions apply. If they do, treat existing-condition information as a primary input rather than a background reference.
Finally, gather the current source material: drawings, existing-condition elevations or surveys, unit mix schedules, target program information, and any available RVT, IFC, or DWG files. Mark unresolved assumptions clearly so they can be shown as provisional rather than accidentally presented as final.
RM Design Studio
Ready to discuss your project?
Email your project brief to RM Design Studio, or call us to discuss the renderings you need.