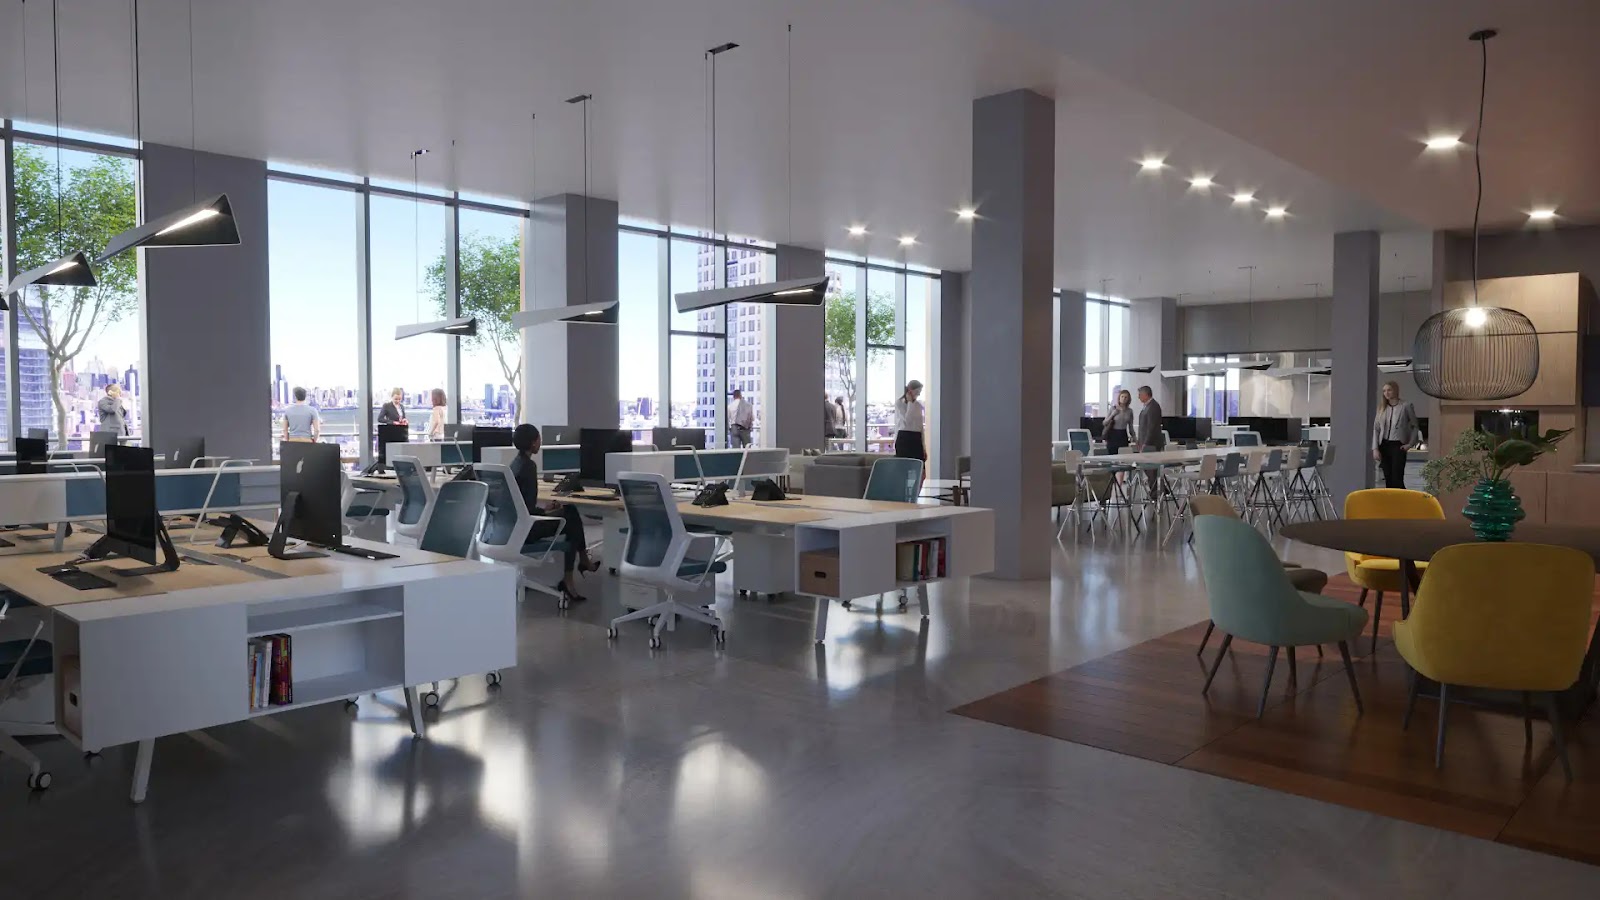
Interior renderings are 3D visualizations that show how an unbuilt, renovated, or redesigned interior is expected to look and feel before construction or fit-out is complete. They help explain layout, scale, finishes, lighting, furniture, circulation, atmosphere, and the intended user experience before those decisions exist in physical space.
The useful question is not only whether an image looks polished. A useful rendering depends on why it is being made, what information the project team provides, which views are chosen, and how the final files will be used. The sections that follow focus on those practical decisions so developers, architects, designers, leasing teams, and owners can brief and review interior imagery with less ambiguity.
Table of Contents
- What interior renderings are and what they should communicate
- Start with the intended use before choosing the rendering style
- What to provide in an interior rendering brief
- How to choose views that explain the space honestly
- Deliverables, review rounds, and rights to confirm before production
- Common mistakes that make interior renderings less useful
- FAQ
- What to Do Next?
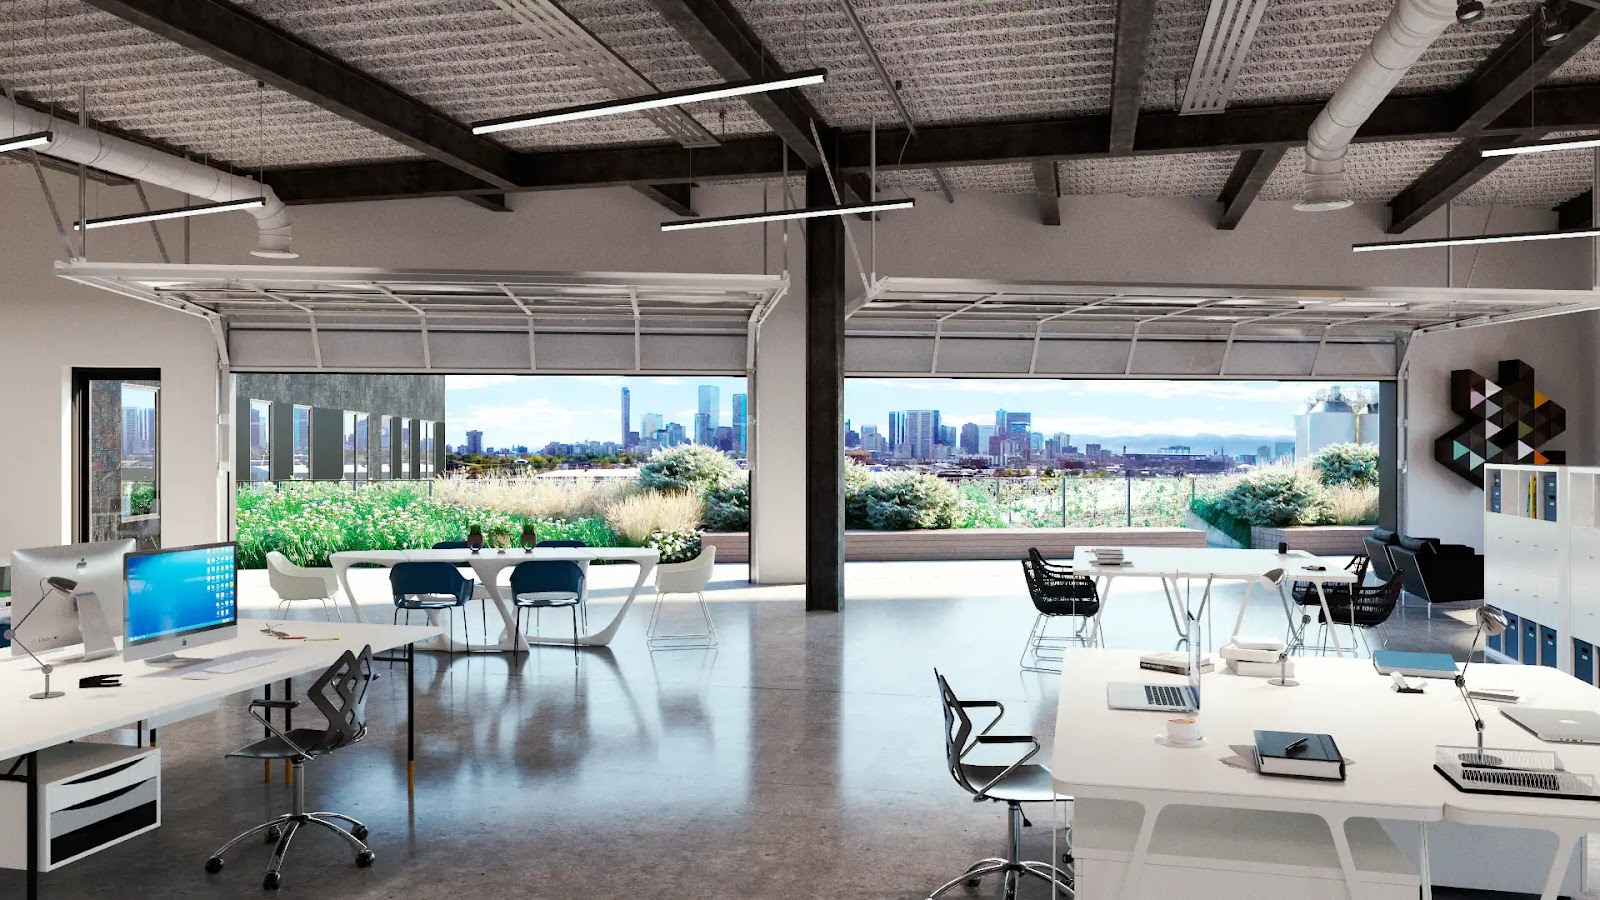
Office Interior
Assess Layout and View in Context
An open office layout frames the skyline while keeping greenery in the foreground.
What interior renderings are and what they should communicate
Interior renderings are project-specific images of spaces that do not yet exist in finished form. They may show a new lobby before construction starts, a renovated amenity lounge before procurement, a restaurant interior before opening, or an office fit-out before a tenant signs off on the direction. In each case, the image translates drawings, finish decisions, furniture layouts, and lighting intent into something a wider project group can understand.
A useful rendering should communicate more than a decorative impression. It should show how people enter the space, where the primary focal points are, how furniture fits, how close circulation paths feel, and how visible materials work together. Flooring, wall finishes, millwork, countertops, fabrics, metals, glass, ceiling treatments, and lighting all carry information. If those items are vague, the image may still look attractive, but it can drift away from the intended interior.
For a developer, architect, leasing team, or ownership group, the practical value is clarity. A rendering can help people review a proposed space, compare design options, prepare a leasing deck, explain a hospitality or workplace concept, or present a future interior before the room can be photographed. It should not be treated as proof of a business outcome. Its job is to make the design intent legible enough for the right people to discuss and decide.
That is why photorealism alone is not the whole measure of success. A photorealistic interior rendering can still fail if the scale is distorted, the material direction is guessed, or the chosen view hides the circulation problem everyone needed to understand. The strongest images combine visual polish with architectural honesty: recognizable scale, believable light, accurate finish direction, and a viewpoint that supports the reason the image is being made.
Start with the intended use before choosing the rendering style
Before discussing style, define what the rendering must do. An image for internal design review may need to reveal unresolved issues clearly. An image for a leasing deck may need to communicate atmosphere, furniture scale, and the character of shared amenities. A view for an investor presentation may need to explain the relationship between a lobby, reception desk, seating area, and branded focal wall. A view for an approval presentation may need to show massing, access, or public-facing interior character without implying that the rendering itself determines approval.
The intended use affects the number of images, level of finish, timing, and review process. Earlier in design, interior 3D rendering can be useful as an exploratory tool. It may help compare layouts, test lighting mood, or understand whether a material palette feels too heavy or too plain. At that stage, some decisions may remain provisional, and the team should expect the imagery to support iteration.
More polished presentation images usually make the most sense once major decisions are more stable. If the wall treatments, millwork profiles, fixture selections, furniture direction, and ceiling plan are still changing daily, pushing for final-level polish can create avoidable rework. The image may become a record of assumptions rather than a clear presentation of an agreed interior.
Still renderings are often the clearest choice for brochures, websites, broker decks, investor materials, and approval presentations because each image can be composed around a specific message. A single view might show the arrival sequence into a lobby, the scale of an amenity lounge, or the atmosphere of a hospitality room. Interactive formats such as 360 panoramas, walkthroughs, animation, or VR are worth considering when the audience needs to understand sequence, circulation, or the feeling of moving through several connected spaces.
Those formats are not automatically better. They add planning and production scope, and they require more complete information about the surrounding space. The right choice is the one that answers the communication need with the least confusion.
What to provide in an interior rendering brief
A clear brief reduces guesswork. It should state the intended use, the spaces to be shown, the number of images or deliverables requested, the preferred review process, and where the final files will appear. A rendering for a website hero image, a pitch deck, a printed brochure, and a large-format panel may require different framing and output preparation, so the final use should be named early.
The core architectural inputs typically include floor plans, elevations or sections, and CAD or BIM files when available. Floor plans should show functional zoning, furniture layouts, key dimensions, and any areas where circulation or clearances matter. Elevations and sections help define wall treatments, millwork, ceiling heights, datum lines, openings, and built-in features that may not be clear from the plan alone.
Interior-specific inputs are just as important. Finish schedules should identify flooring, wall finishes, millwork, countertops, fabrics, metals, glass, and other visible surfaces. Furniture references can include selected products, comparable pieces, layout plans, or brand direction. Reflected ceiling plans and lighting fixture information are valuable when ceiling design, lighting mood, or fixture placement affects the image. If the project includes signage, art, plants, reception elements, or custom display features, those should be documented as well.
Mood references are useful, but they do not replace specifications. A moodboard can explain warmth, contrast, brand tone, and atmosphere in a way a drawing cannot. It helps translate whether the space should feel calm, residential, premium, energetic, minimal, layered, or hospitality-driven. Still, if the final image is expected to represent the actual design, mood references should be paired with real material and fixture decisions whenever possible.
It also helps to label what is confirmed and what is still a placeholder. If the stone counter, wood veneer, pendant fixture, or lounge chair is not final, say so. This allows the visualization team to make reasonable assumptions while keeping the project team aware of which parts of the image may need later review. The more complete and honest the brief is, the fewer hidden decisions are left for the rendering process to absorb.
Free Guide
Plan Better Renderings Before Your Next Presentation
Use this quick guide to prepare clearer visual direction before project meetings, marketing reviews, or stakeholder presentations.
- Clarify the views your team needs before rendering starts
- Compare exterior, interior, and amenity visuals with more focus
- Prepare stronger notes for design, leasing, or marketing discussions
A practical checklist to help your team prepare.
How to choose views that explain the space honestly
View selection should start with the question each image needs to answer. One view may explain arrival: what a visitor sees when entering a lobby or amenity area. Another may explain a focal feature, such as a reception desk, fireplace wall, bar, or custom millwork element. A third may show how seating, circulation, ceiling design, and lighting work together. Choosing views by purpose prevents a rendering package from becoming a set of attractive but incomplete images.
Interior renderings are usually most trustworthy when the camera feels close to human scale. An eye-level view can help people understand the actual room experience: how high the ceiling feels, how furniture relates to the body, and whether a space feels open, compressed, intimate, or formal. Moderate lens choices often make the room easier to read because they avoid stretching edges or making nearby furniture feel unnatural.
Extreme wide-angle views can make interiors feel larger, which may be tempting in small rooms or leasing presentations. The tradeoff is credibility. If a camera makes a lounge, model unit, office, or corridor appear much larger than it will feel in person, the image can create confusion later. Expressive angles still have a place, especially for marketing moments, detail shots, or dramatic brand imagery, but they should be used deliberately rather than as the default for every view.
A strong view plan often mixes broad explanatory views with closer moments. A wide lobby perspective might establish arrival and layout. A seating vignette might explain texture, lighting, and atmosphere. A view toward the bar, reception desk, or communal table might clarify the main social or operational focus of the space. The goal is not to show every inch. The goal is to show the parts of the interior that matter to the audience making the decision.
Deliverables, review rounds, and rights to confirm before production
Final deliverables should be defined by use rather than described only as high resolution. Web-ready files, full-resolution masters, print-ready versions, and presentation deck images may have different requirements. A file that looks right in a pitch deck may not be suitable for a brochure, campaign image, magazine placement, or large-format sign. Exact output needs depend on publication specs, viewing distance, print method, and campaign use, so those requirements should be discussed before production begins.
A typical workflow includes kickoff, file intake, scene development, base materials, low-resolution review images, revisions, final rendering, and post-production. The exact process varies by scope, but the principle is consistent: early review images are coordination checkpoints. They are useful for checking composition, camera angle, lighting direction, material interpretation, furniture scale, and whether the space is being understood correctly. They are not the same as finished presentation images.
Review responsibility matters. Interior rendering projects often involve owners, architects, interior designers, brokers, operators, and marketing teams. If comments arrive separately, the direction can become contradictory: one person asks for warmer lighting, another asks for a brighter commercial tone; one person approves the sofa, another replaces the furniture package; one person wants a wider camera, another worries the view feels distorted. Assigning one internal feedback lead helps consolidate comments before they go back to the visualization team.
Rights should also be clarified before production. Final image delivery does not necessarily include source files, unlimited commercial usage, multi-party use, or portfolio restrictions. A developer, architect, interior designer, broker, operator, or agency may each need to use the images in different channels. Those uses should be identified in the agreement so the team understands what is included, what needs separate permission, and whether work files are excluded or available under separate terms.
Common mistakes that make interior renderings less useful
One common mistake is starting without a defined use case. If the same image is expected to serve design review, investor presentation, leasing, approval discussion, and public marketing, the team may end up with a view that does none of those jobs particularly clearly. A better approach is to name the audience and the decision each image needs to support.
Another common problem is incomplete finish, furniture, and lighting information. Once the basic room geometry is established, material uncertainty can become more consequential than geometric uncertainty. A flooring change, wall treatment revision, millwork finish update, fixture swap, or fabric replacement can substantially change the atmosphere of an interior rendering. If those decisions remain open, they should be treated as assumptions rather than final facts.
Camera exaggeration is also worth watching. A dramatic wide-angle view may create an immediate impression, but it can undermine trust if the finished room will feel smaller, lower, or tighter than the image suggests. This is especially important for leasing, investor communication, and approval presentations, where the rendering should support understanding rather than conceal scale.
Revision handling can create friction as well. Some teams treat review rounds as open-ended, or they collect unfiltered comments from every participant without resolving conflicts internally. Revision scope depends on the agreement, but regardless of contract structure, consolidated feedback is easier to act on than scattered comments. It also helps separate design changes from rendering corrections. Changing the specified pendant light is different from correcting a misread fixture location.
A final mistake is assuming that every possible future use is covered once the images are delivered. If a rendering is later needed for a broker campaign, public signage, a printed brochure, an architect portfolio, or a partner announcement, usage rights and file preparation may matter. Confirming those details early is less stressful than discovering a limitation after the images are finished.
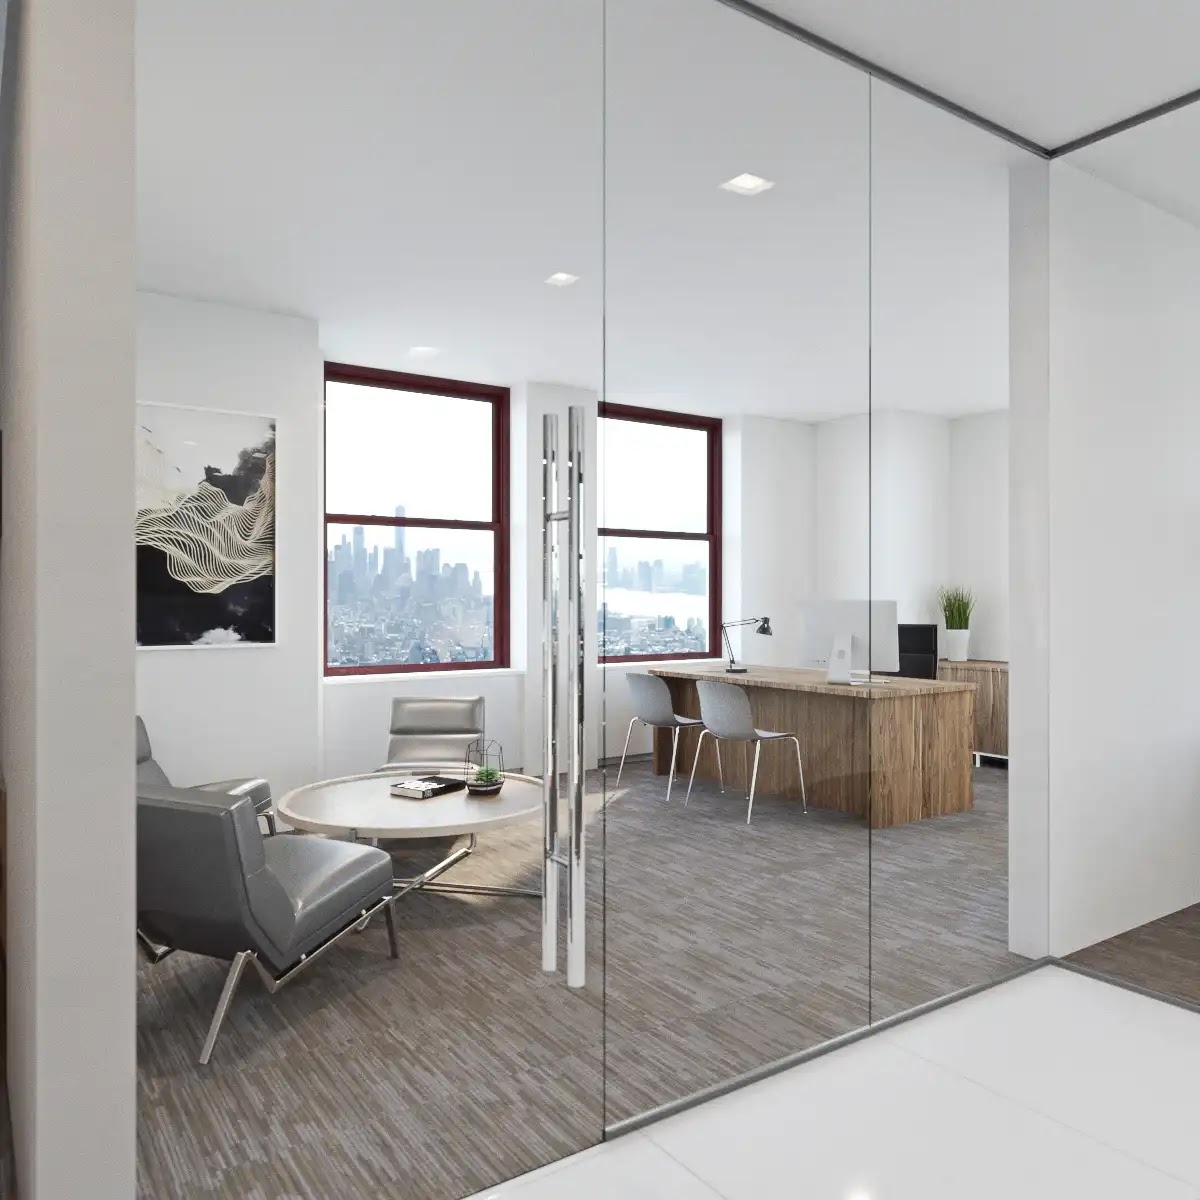
Office Interior
Assess Layout and View Relationships
Compare the open workstation layout, minimalist furnishings, and skyline backdrop in one office interior.
FAQ
What is the difference between an interior rendering and interior design visualization?
The terms often overlap. In practice, interior design visualization is sometimes used for earlier exploration, such as testing layouts, mood, lighting, or material direction. Interior renderings often refer to more polished images used to present a relatively defined space. The important distinction is timing: earlier visualization can be more iterative, while final renderings usually need clearer decisions and tighter review.
What files do you need for interior renderings?
Useful inputs include floor plans, elevations or sections, CAD or BIM files if available, finish schedules, furniture references, lighting fixture information, reflected ceiling plans where relevant, mood references, preferred views, and intended output use. Not every project has every file, but fewer inputs usually mean more assumptions.
How many views should an interior rendering package include?
The right number depends on what the images need to explain. A package might need views for arrival, key room character, circulation, focal features, ceiling design, lighting atmosphere, or areas where finish decisions matter. Choose views by purpose rather than by an arbitrary count.
Do final interior renderings include source files and unlimited usage rights?
Not necessarily. Final image delivery, source files, commercial usage, multi-party usage, and portfolio rights depend on the agreement. Teams that expect developers, architects, designers, brokers, operators, or agencies to reuse the images should confirm those rights before production begins.
When are still images enough, and when should you consider a 360 view or walkthrough?
Still images are often enough when the priority is to present key spaces, finishes, furniture, and atmosphere clearly. A 360 view, walkthrough, animation, or VR experience may be more useful when the audience needs to understand sequence, circulation, or the feeling of moving through connected spaces.
Free Guide
Plan Better Renderings Before Your Next Presentation
Use this quick guide to prepare clearer visual direction before project meetings, marketing reviews, or stakeholder presentations.
Prefer to talk it through? Email us at info@rmdesignstudio.com or call 630.540.1222.
What to Do Next?
Before requesting interior imagery, write down what the images need to accomplish. Name the spaces to be shown, the audience for each view, and the decision or presentation need each image should support. This keeps style, scope, and review expectations tied to a real use rather than a general request for polished images.
- List the specific interiors that need to be shown and why each one matters.
- Gather floor plans, elevations or sections, CAD or BIM files if available, finish schedules, furniture references, lighting information, and mood references.
- Mark preferred camera views around arrival, layout, circulation, focal features, ceiling design, lighting intent, or user experience.
- Separate confirmed materials, fixtures, and furniture from placeholder assumptions before expecting final-level imagery.
- Define where the images will appear, such as a website, deck, brochure, print campaign, signage, approval presentation, or leasing material.
- Assign one feedback lead and confirm which parties need usage rights before production starts.
These preparation steps make the rendering process easier to review and help the final images communicate the intended interior with fewer avoidable assumptions.