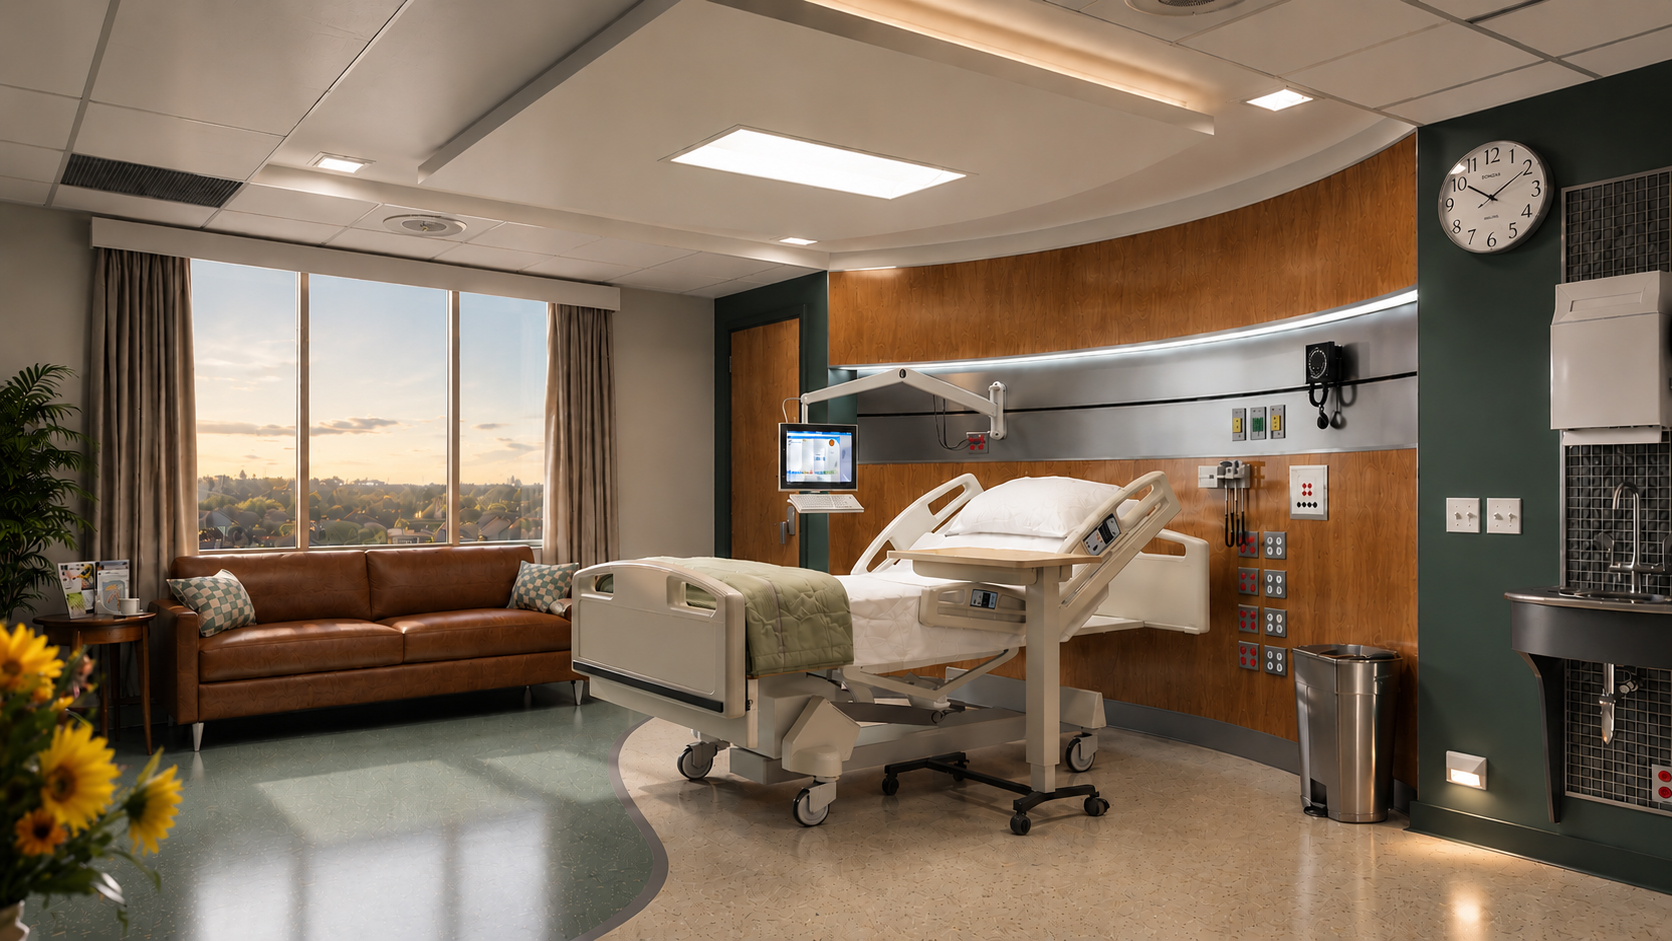
A medical office conversion is easiest to visualize well when the team first confirms what kind of clinic the space must become, then bases the renderings on accurate existing conditions. The goal is not just to make an office suite or retail bay look clinical. The images should help owners, healthcare developers, architects, leasing teams, and investors see whether the shell can plausibly support patient arrival, circulation, waiting, exam or treatment rooms, support spaces, and the intended care model.
The complication is that a generic clinic image can hide important questions. Plumbing, HVAC, ceiling depth, parking, accessible routes, occupancy classification, and clinical room assumptions can all affect what should be shown. The sections that follow explain what medical office conversion renderings need to communicate, what information to collect first, which views matter inside and outside the clinic, where building constraints can make the image misleading, and how to scope visuals for feasibility, leasing, or investor review without treating them as code or licensing confirmation.
Table of Contents
- What medical office conversion renderings need to communicate first
- The pre-render checklist: what to collect before visualizing a clinic conversion
- What the visuals should show inside and outside the future clinic
- The building constraints that can make a rendering believable or misleading
- Where renderings stop: code, occupancy, and compliance assumptions that must stay qualified
- How to scope the right rendering package for feasibility, leasing, or investor review
- FAQ
- What to Do Next?
RM Design Studio
Planning a rendering project?
Talk with RM Design Studio about your project, the views you need, and your timeline.
What medical office conversion renderings need to communicate first
Useful medical office conversion renderings begin with the clinical program. A primary care clinic, urgent care center, specialty practice, imaging suite, and procedure-based outpatient space do not need the same rooms, clearances, patient flow, equipment assumptions, or support spaces. If the intended use is vague, the rendering may still look persuasive, but it may answer the wrong question.
The first job of the imagery is to communicate a believable clinic scenario. That usually means showing how a patient arrives from the street, parking area, or drop-off; recognizes the entrance; moves along an accessible route; checks in; waits; reaches exam or treatment rooms; and exits without confusion. The same package may also need to show staff circulation, back-of-house support, clean and soiled functions, storage, or equipment movement, depending on the care model.
This is why medical office renderings should not be treated as decorated before-and-after views. Finishes, lighting, furniture, and signage matter, but they sit on top of more basic questions: Does the existing office or retail shell support the proposed layout? Are the room depths believable? Is the reception position visible? Does the entrance feel like a clinic entrance rather than a leftover storefront or office door?
Renderings can make a proposed fit-out easier to discuss, but they do not by themselves confirm code compliance, healthcare licensing, MEP capacity, or structural adequacy. They are strongest when they clarify the design intent and expose the assumptions that still need review.
The pre-render checklist: what to collect before visualizing a clinic conversion
Before visualizing a clinic conversion, collect enough source material to keep the images tied to the real building. The most important input is the clinical program: visit type, room types, patient volume assumptions, staffing model, equipment needs, wet-room requirements, support spaces, and any separation between patient, staff, and service circulation.
Then confirm the current building information. Depending on project stage, the rendering team may not need a fully coordinated BIM model, but it does need reliable, current source files. Outdated leasing plans, partial CAD exports, or old marketing plans can create images that show incorrect walls, columns, doors, ceiling heights, storefront conditions, or room depths.
A practical pre-render package often includes:
- Current floor plans or as-built drawings.
- Reflected ceiling plans, especially where lighting, ductwork, sprinklers, devices, or ceiling height affect the clinic layout.
- MEP, plumbing, and riser information, including likely wet-wall locations.
- Structural grid information and any known slab-load concerns for equipment-heavy uses.
- Elevations, façade drawings, storefront information, and current exterior photos.
- Site plan, parking layout, drop-off conditions, accessible route information, and entry locations.
- Elevator or vertical circulation information where upper-floor access, equipment movement, or patient mobility matters.
- Current photos or 360 capture of the shell, surrounding context, and approach sequence.
The authoritative version matters. A rendering based on an early test fit can still be useful, but the image should not hide unresolved assumptions. If plumbing locations, ceiling conditions, or occupancy classification are not yet confirmed, those limits should remain visible in the briefing and review process.
What the visuals should show inside and outside the future clinic
The strongest office to medical conversion visuals usually connect the exterior and interior story. For a former retail bay, that may mean showing storefront identity, signage zones, parking, curb drop-off, and the route from car to check-in. For an office suite, it may mean showing lobby access, elevators, corridor approach, suite entry, reception, waiting, and the first decision points inside the clinic.
Interior views should make circulation legible. A polished waiting room image is less useful if it does not show where patients enter, how the reception desk works, whether waiting is adjacent to exam zones, and how doors and corridors support the proposed flow. If the clinic includes urgent care, specialty rooms, imaging, procedures, or equipment-heavy spaces, the visuals should also show scale and movement in a way that feels plausible.
Clinical rooms should not be drawn like standard office rooms with exam tables dropped in. Room proportions, clear floor areas, door swings, cabinetry, sinks, staff work zones, and equipment clearances should be informed by healthcare planning benchmarks. Those benchmarks are not a substitute for the latest applicable standards or local review, but they help prevent images from showing exam or procedure rooms that fit graphically while feeling operationally cramped.
Views can be simple or polished depending on the purpose. Early feasibility imagery may use plan-based perspectives, massing, or lightly rendered interiors to test flow and room fit. Later presentation imagery can spend more effort on materials, lighting, furniture, brand cues, and patient experience once the underlying assumptions are more stable.
Free Guide
Plan Better Renderings Before Your Next Presentation
Use this quick guide to prepare clearer visual direction before project meetings, marketing reviews, or stakeholder presentations.
- Clarify the views your team needs before rendering starts
- Compare exterior, interior, and amenity visuals with more focus
- Prepare stronger notes for design, leasing, or marketing discussions
Enter your email to access the guide.
The building constraints that can make a rendering believable or misleading
A clinic rendering becomes misleading when it ignores the building systems that shape the plan. Plumbing and drainage are common examples. Exam rooms, treatment rooms, sterilization, lab support, staff areas, and other wet functions may depend on existing risers, wet walls, waste-line routing, and slab conditions. Designing around existing plumbing can reduce disruption, but it may also constrain the ideal layout.
Ceiling conditions are just as important. Medical spaces often need coordinated lighting, ventilation, sprinklers, ceiling devices, acoustic treatment, and equipment clearances. A reflected ceiling plan, plenum information, and clear ceiling height can reveal whether a room that looks generous in plan will feel compressed or difficult to coordinate in reality.
HVAC capacity, duct routing, structural bays, column spacing, and slab-load limits can also affect what should be visualized. A second-floor office suite may appear large enough for a specialty clinic, while elevator size, equipment movement, ceiling depth, or structural assumptions make the concept harder to support. For retail to healthcare conversion, parking, drop-off, visibility, and accessible routes may be as important as the interior layout.
Good visualization does not solve these constraints, but it can bring them into the conversation. If a rendering shows a sink wall, procedure room, imaging room, or patient arrival sequence, the team should understand which parts are confirmed and which are still assumptions.
Where renderings stop: code, occupancy, and compliance assumptions that must stay qualified
Clinic conversion renderings are not compliance documents. They can illustrate a proposed outpatient clinic concept, but occupancy classification, life-safety strategy, licensing, medical-waste handling, corridor sizing, egress, smoke separation, sprinklers, and travel-distance assumptions need professional and local confirmation.
This distinction matters because outpatient uses are not all the same. Some lower-acuity clinics may resemble office-type occupancies in many planning conversations, while other uses may trigger more demanding ambulatory healthcare or institutional requirements. Patient condition, treatment type, occupant load, local code interpretation, and adopted standards can all affect the underlying planning rules.
Room-size benchmarks should be handled the same way. They are valuable for keeping exam rooms, specialty rooms, procedure areas, and support spaces believable in a rendering, but they should not be presented as universal final requirements. The applicable guidance, edition, local amendments, clinical program, and authority review can change how those numbers apply.
The safe framing is simple: a rendering can communicate a scenario for review. It can show design intent, patient flow, scale, materials, visibility, and key assumptions. It should not be used as proof that the project satisfies code, licensing, engineering, structural, or healthcare operational requirements.
How to scope the right rendering package for feasibility, leasing, or investor review
The right rendering package depends on why the images are being made. Internal feasibility review, operator discussions, leasing material, investor presentation, and public-facing communication each place emphasis in different places. A single polished waiting room view rarely answers all of those needs.
For early feasibility, prioritize layout logic, patient arrival, accessible routes, room fit, entrance identity, and visible constraints. Annotated plan-based perspectives, entry sequence views, and simple interior studies may be more useful than highly finished images if the team is still testing the program. These visuals help people discuss whether the clinic concept is plausible before too much confidence is placed in finishes.
For leasing or investor review, the package may need a clearer exterior story: street approach, storefront or building entry, signage, parking, drop-off, lobby path, waiting experience, and representative clinical spaces. The images should connect the property to the proposed healthcare use without suggesting that unresolved technical items have already been settled.
Higher-fidelity imagery makes more sense after the clinical program, room assumptions, MEP direction, and code questions have been reviewed by the right people. Before final render modeling is locked, checkpoints should include clinical operations, architecture, and MEP or plumbing input. That sequence keeps the visuals useful as decision support rather than letting polished images create premature certainty.
FAQ
What information do you need before creating medical office conversion renderings?
Start with the clinical program: clinic type, room list, patient flow, staffing, equipment, wet-room needs, and support spaces. Then gather current plans, reflected ceiling plans, MEP and plumbing information, structural and site data, façade or elevation information, parking and access details, elevator or vertical circulation information, and current photos. The rendering team should also know which drawing or model version is authoritative.
Can a rendering show whether an office space will work as a clinic?
A rendering can show a plausible test-fit scenario and help the team review patient flow, room fit, entrance sequence, visibility, and infrastructure assumptions. It cannot verify code compliance, licensing, structural capacity, MEP adequacy, or medical-waste requirements. Those items need the appropriate professional and local review.
Do clinic renderings need to show the exterior and parking, or just the interior?
Exterior views are often important, especially for office to medical conversion or retail to healthcare conversion projects where access and visibility are part of the value proposition. Patient arrival, signage, drop-off, parking, accessible routes, and entry identity can affect whether the proposed clinic feels credible before a patient ever reaches the waiting room.
How detailed should room sizes be in a medical office conversion visual?
Room proportions should be grounded in healthcare planning benchmarks and clinical clearances so exam, treatment, specialty, and support spaces feel operationally believable. Those benchmarks should remain qualified because final requirements depend on the clinical program, current standards, adopted editions, local amendments, and authority review.
When should you use feasibility visuals instead of polished marketing renderings?
Use feasibility visuals when the team is still testing program fit, patient flow, entry sequence, infrastructure constraints, or code assumptions. More polished imagery is better suited to later presentation needs, after the layout, clinical assumptions, and building constraints have been reviewed closely enough to support a more finished visual direction.
What to Do Next?
Before commissioning or reviewing clinic conversion imagery, write a short brief that separates confirmed information from assumptions. Identify the intended clinic type, the audience for the visuals, and whether the images are for test-fit review, operator discussion, leasing, investor review, or later presentation.
Then assemble the current source material in one version-controlled package. Include plans, reflected ceiling plans, MEP or plumbing information, structural and site data, exterior references, access and parking information, and current photos where available. Mark missing items clearly rather than allowing the rendering to imply certainty.
It also helps to list the views needed to explain the full patient journey: approach, drop-off or parking, accessible route, entrance, reception, waiting, exam or treatment areas, support spaces, and exit path. Finally, set a review sequence that includes clinical operations, architecture, and MEP or plumbing input before the images are treated as decision-ready.
RM Design Studio
Ready to discuss your project?
Email your project brief to RM Design Studio, or call us to discuss the renderings you need.