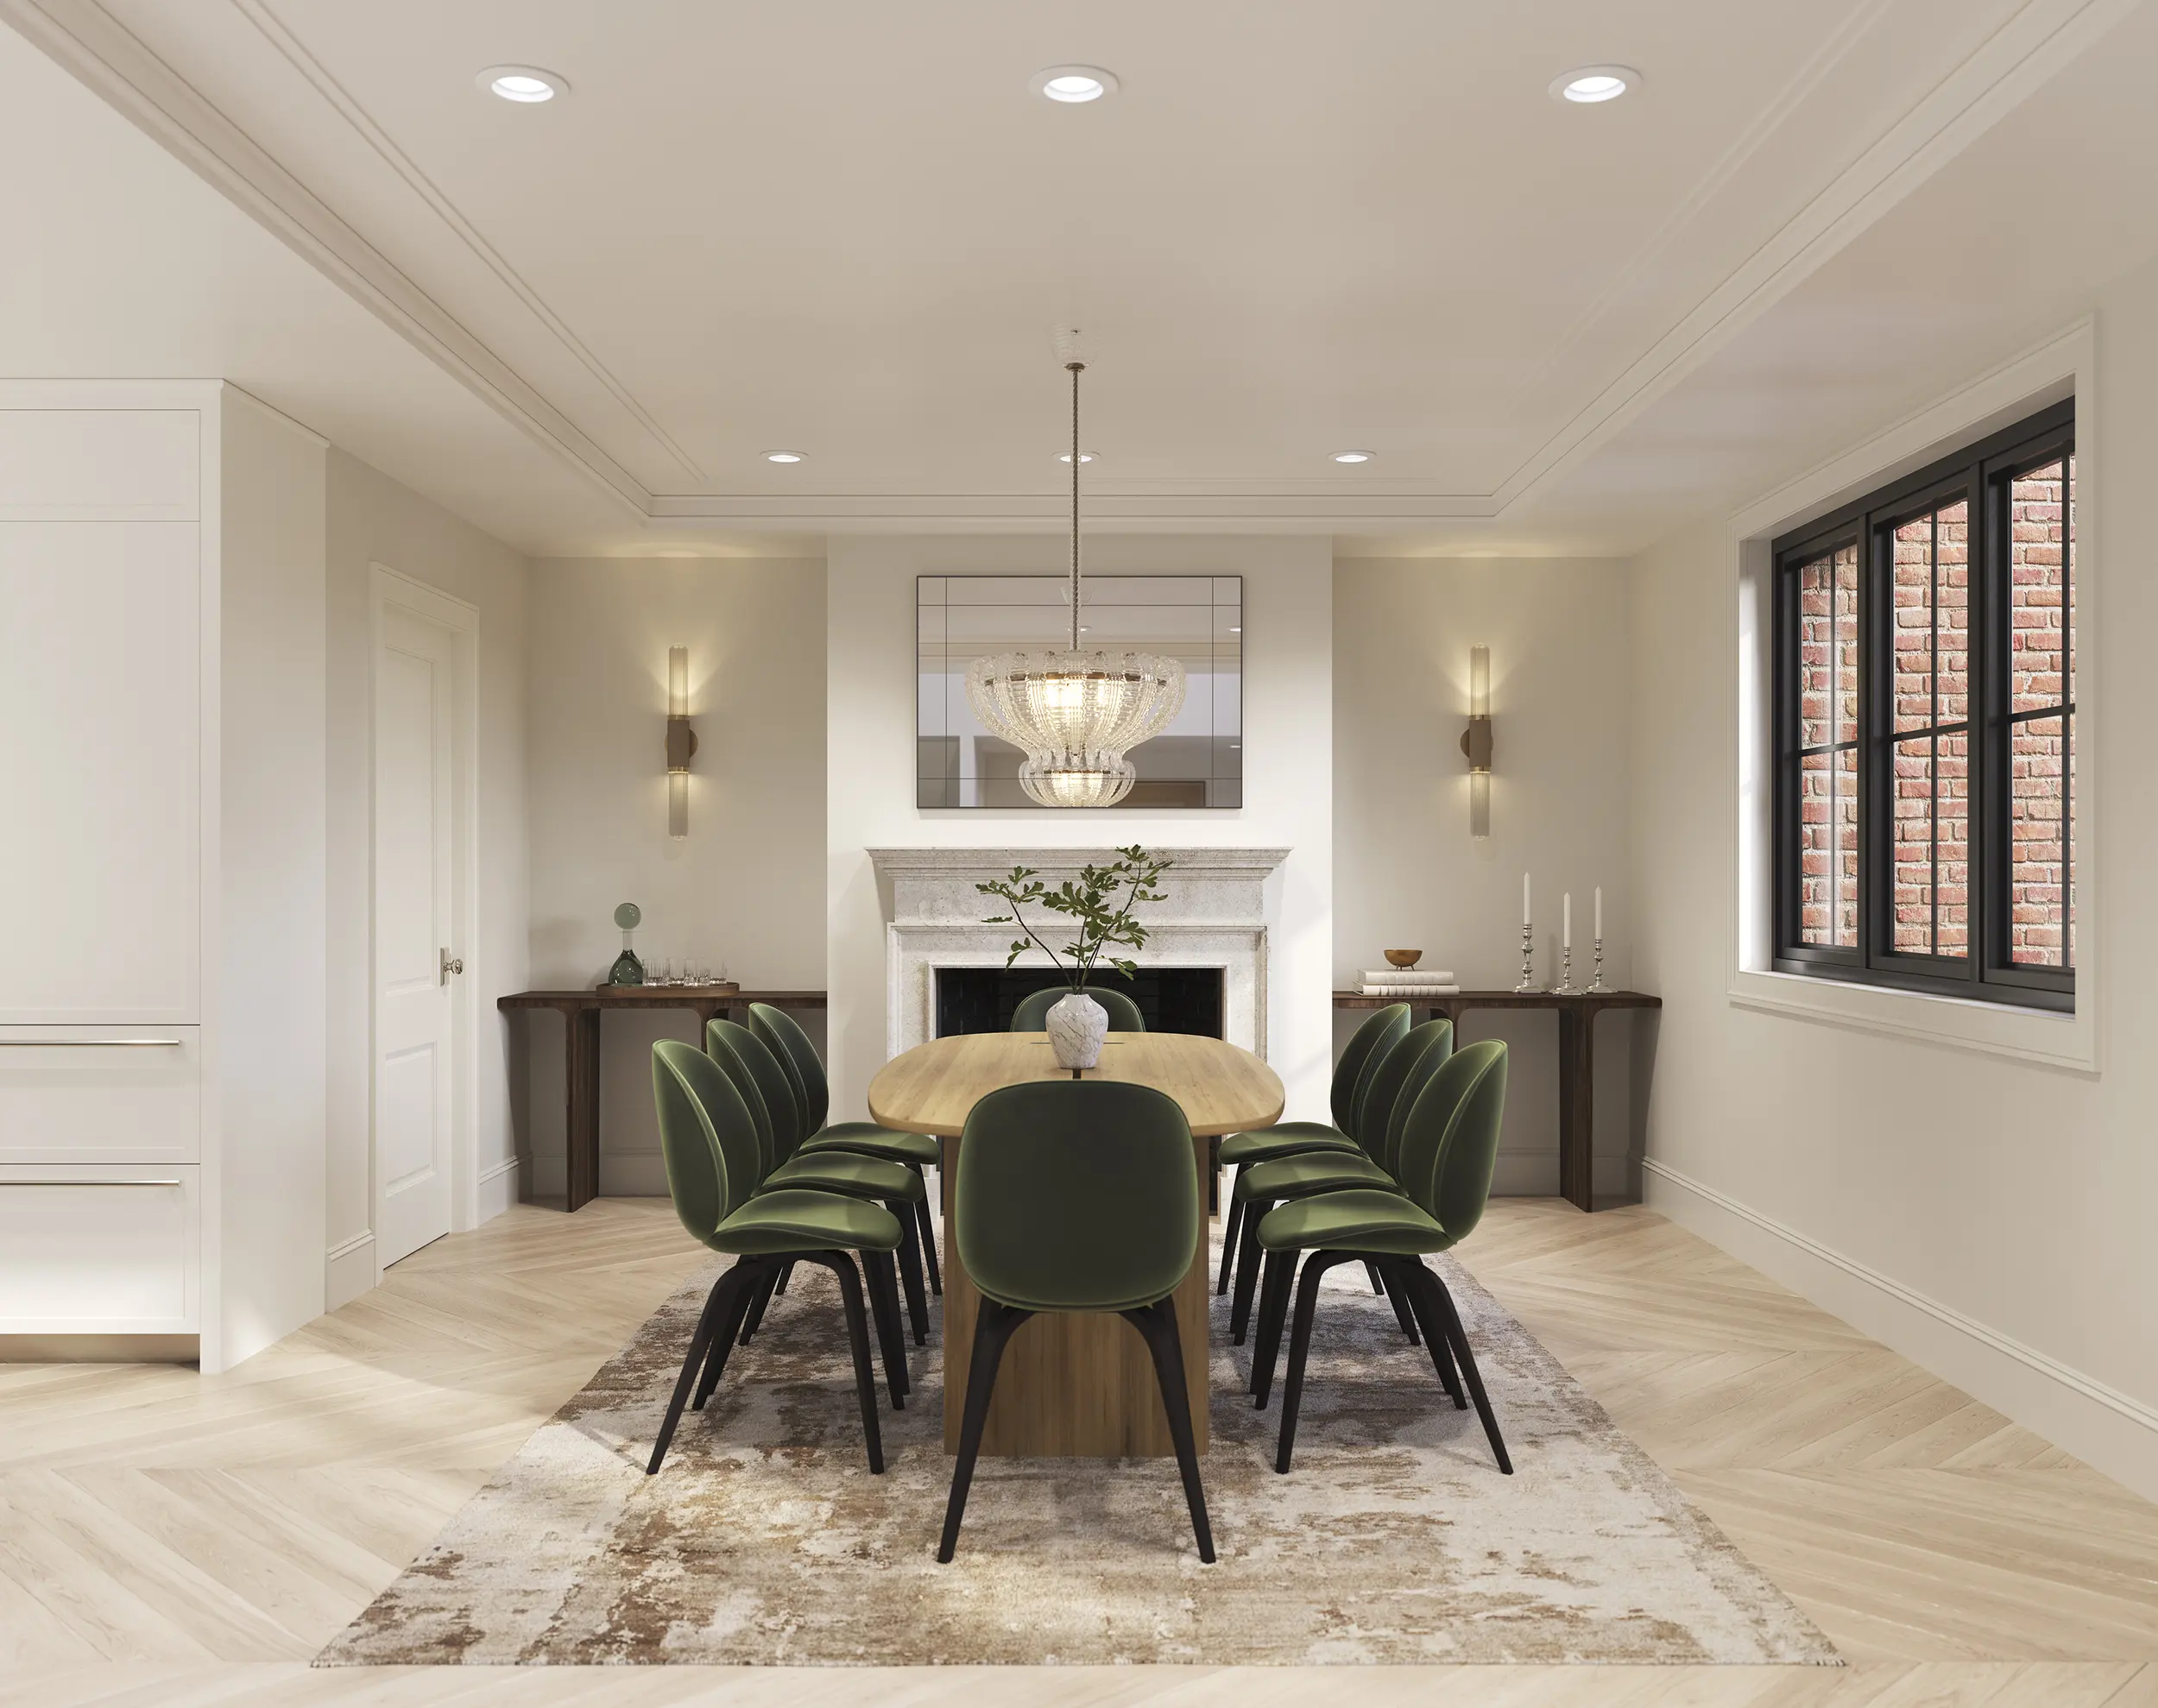
Senior living renderings should help residents, families, operators, and ownership teams understand how a future community will feel and function before it opens. The most useful images show more than attractive rooms. They clarify typical residences, dining and amenity spaces, lounges, corridors, entries, outdoor areas, campus relationships, furniture scale, daylight, finishes, accessibility cues, and the daily routines people are trying to imagine.
The right scope depends on who needs the images, how stable the design is, and whether the work is a new community, renovation, assisted living project, or independent living repositioning. A resident-facing image package should not be planned the same way as an entitlement view or an internal design review. The sections that follow explain what to show, which spaces matter most, what must be approved before production, when immersive views add value, and which mistakes can make the images feel less credible.
Table of Contents
- What senior living renderings need to show first
- Which spaces matter most: residences, shared amenities, and campus views
- How to choose the right renderings by audience and project stage
- What needs to be approved before rendering production starts
- When immersive tours, accessibility cues, and operational details add real value
- Common mistakes that make senior living renderings less trustworthy
- FAQ
- What to Do Next?
RM Design Studio
Planning a rendering project?
Talk with RM Design Studio about your project, the views you need, and your timeline.
What senior living renderings need to show first
Senior living renderings need to answer a plain question: can people picture daily life in this community before the building or renovation is complete? A polished view of a lounge is not enough if it does not explain how a resident arrives, where people gather, how furniture fits, how daylight enters the room, or whether the environment feels believable for older adults.
The first priorities are usually the places residents and families will discuss most directly. A typical residence should show the living area, sleeping zone, bathroom relationship, storage or daily-use areas when relevant, furniture scale, and circulation around the furniture. Shared spaces should show how dining, lounge, wellness, activity, salon, or outdoor areas will actually be used, not just that they exist. Corridors, intersections, and entries can also matter because they shape navigation, first impressions, and confidence in the setting.
For assisted living renderings, the image may need to make support feel present without turning the environment into a clinical scene. That might mean clear paths of travel, understandable wayfinding moments, seating that feels stable and appropriately scaled, and subtle sightlines between staff and resident areas where those relationships are part of the design. Those details should come from the actual plan and program, not from generic assumptions about care.
For renovations or repositioning work, the most useful views often explain what is changing. A new entry canopy, updated drop-off, improved outdoor patio, refreshed dining room, or clearer campus connection may be more important than another isolated room view. In those cases, renderings should help the audience understand the transformation from the current condition to the intended experience.
Which spaces matter most: residences, shared amenities, and campus views
Residence views and shared-space views answer different concerns. A model residence helps a prospective resident or adult child understand privacy, comfort, furniture fit, daylight, bathroom adjacency, and everyday routines. It can make a floor plan feel legible to someone who does not read drawings every week. A well-chosen residence view can also prevent a common misunderstanding: a room may look generous in plan, but the lived feeling depends on furniture, clearances, window location, and how one moves through the space.
Shared amenities carry a different burden. Dining rooms, bistros, lounges, wellness rooms, activity rooms, libraries, and salons help people imagine community life. These views should be warm, but they also need to be specific. Seating density, table spacing, lighting, ceiling height, finish selections, and the relationship to adjacent corridors or outdoor areas all affect whether the image feels credible. A generic lounge scene may look pleasant while saying very little about the actual community.
Circulation spaces deserve more attention than they often receive. Corridors, arrival zones, elevator lobbies, and intersections are where people orient themselves. For senior housing visualization, those moments can show wayfinding cues, daylight at corridor ends, visibility into common spaces, or the transition from a private apartment to a social area. They may not always become the hero image, but they can be important in a review set or in materials meant to reassure families.
Exterior and campus views are especially useful when the setting influences the decision. Independent living community renderings may need to show walking paths, terraces, landscape, parking relationships, entry sequence, and how different buildings or wings connect. For an existing community, the exterior view can clarify that the work is not just a cosmetic interior refresh. It can show a changed arrival experience, a more welcoming drop-off, or an outdoor amenity that helps the repositioning feel concrete.
How to choose the right renderings by audience and project stage
The right rendering scope starts with audience. Residents and families usually need clarity about daily life: where someone sits, eats, receives visitors, moves through a corridor, reaches outdoor space, or understands the route from an apartment to dining. They are often trying to reduce uncertainty, not evaluate design language in an abstract way.
Operators may need a different layer of information. They may look for privacy, supervision, support-area relationships, staff visibility, dining operations, or whether a shared room can realistically accommodate the intended program. Those concerns do not always require a separate technical illustration. They can often be addressed through view selection, furniture layout, and enough surrounding context to show how a space works.
Ownership groups, investors, and development teams may need campus-level or amenity-focused images that explain positioning, arrival, renovation scope, and overall identity. Those are not automatically the same images used for resident-facing pre-opening marketing. A concept massing view, for example, may be useful during early planning because it explains siting and scale. It may not be detailed enough to help a family understand finishes, furniture, lighting, and comfort inside a future apartment.
Project stage matters just as much. Early images can stay conceptual when the plan is still moving. Design coordination views can help the team test circulation, material direction, ceiling conditions, or amenity use. Resident-facing senior living renderings usually need a higher level of finish and accuracy because people may treat them as a preview of what is coming. If floor plans, furnishings, or finishes are still changing, the team should decide whether the images are ready for public use or should remain internal for now.
Free Guide
Plan Better Renderings Before Your Next Presentation
Use this quick guide to prepare clearer visual direction before project meetings, marketing reviews, or stakeholder presentations.
- Clarify the views your team needs before rendering starts
- Compare exterior, interior, and amenity visuals with more focus
- Prepare stronger notes for design, leasing, or marketing discussions
Enter your email to access the guide.
What needs to be approved before rendering production starts
Trustworthy renderings begin with clear source material. Before production starts, the team should identify the current floor plans, reflected ceiling plans if lighting or ceiling design will be visible, finish palette or finish schedule, furniture direction, and operator-confirmed programming for spaces such as dining, wellness, activity, therapy, salon, or outdoor amenities. The goal is not paperwork for its own sake. It is to avoid showing a layout, material, amenity, or resident experience that the project team has not actually approved.
Authority matters on senior living projects because several groups may influence the image set. A developer may care about positioning and investment presentation. The architect may be guarding design intent and drawing accuracy. The operator may be focused on daily function. The interior designer may be confirming finishes, furniture, art, and lighting atmosphere. Leasing and marketing teams may be thinking about the questions families ask before opening. If these comments arrive separately, on different image versions, the rendering process can become confusing quickly.
A practical review path helps. The team should know who is allowed to approve resident-facing imagery, which drawing issue date is current, and how revisions will be tracked. Marked-up plans, finish schedules, furniture plans, material references, site photography, and notes about the intended audience can all reduce interpretation errors. If an image will show accessibility-related details, the applicable requirements and review context should be confirmed before those details are presented as settled.
This preparation is especially important for senior living pre-opening marketing. Once a rendering is used publicly, residents and families may reasonably assume it reflects the intended layout and experience. If programming is still unresolved, it is better to clarify that before investing in a polished view of the wrong room use.
When immersive tours, accessibility cues, and operational details add real value
Immersive tours and 360 experiences can be useful when remote understanding is a priority. An adult child who lives out of state may need to evaluate the apartment layout, the path to dining, the feel of a lounge, and the relationship to outdoor space before an in-person visit is possible. In that situation, a series of still images may not answer every spatial question.
That does not mean every senior living project needs an immersive tour. The decision should depend on audience, budget, project stage, and the importance of remote review. A still rendering of a model residence may be enough for one community, while another project may benefit from a 360 apartment walkthrough, a common-area sequence, or an exterior arrival view that helps people understand how spaces connect.
Accessibility cues should be integrated into the lived environment rather than treated as hardware added at the end. Clear circulation, realistic furniture clearances, visible route choices, lighting that supports orientation, and understandable transitions between private and shared spaces can all make an image feel more credible. At the same time, a rendering should not be used as a stand-alone claim that the project meets a particular code or accessibility standard. That review belongs with the project team and the applicable regulatory context.
Operational details can be handled with similar care. Views may show staff visibility, resident privacy, support-area proximity, or supervision cues where those ideas are part of the design. The best approach is usually subtle. Senior living imagery should feel residential and welcoming, but it should also make the practical support structure understandable enough that operators, families, and leasing teams are not left guessing.
Common mistakes that make senior living renderings less trustworthy
One common mistake is relying on generic lifestyle imagery that does not match the actual plan, amenity program, or operator positioning. A warm image can still feel hollow if the furniture layout would not fit the approved residence, the dining room use has not been confirmed, or the outdoor space shown is not part of the project. For senior living renderings, believability comes from the relationship between atmosphere and accurate design information.
Another mistake is starting too early without agreeing on what the images are meant to do. Early concept views can be valuable, but they should not be mistaken for final resident-facing materials. If plans, finishes, furnishings, or programming are still changing, the team may create avoidable revisions or publish images that later need to be corrected. This is not usually a rendering problem alone; it is a coordination problem.
Renovation projects can also be misframed. Treating a repositioning effort like a new-build presentation may miss the real question: what will feel different from the community people already know? A refreshed lobby, changed entry sequence, new landscape, improved terrace, or updated dining venue may need to be shown in a way that connects old perceptions to the future experience.
Accessibility and circulation are sometimes hidden because the image is focused only on decor. That can weaken confidence, especially for families who are imagining daily movement, not just a pleasant room. Conflicting review comments create another avoidable issue. When the architect, operator, owner, and marketing team are reacting to different versions, outdated finishes or old layouts can remain in the image set. A clear view list, current source files, and one review path make the final imagery easier to trust.
FAQ
How many senior living renderings does a project usually need?
There is no reliable standard count that fits every senior living project. The right number depends on audience, project stage, program complexity, and whether the work is a new build, renovation, or repositioning effort. It is usually better to define the decision-critical views first, such as a model residence, dining area, key amenity, entry, outdoor space, or campus relationship, and then decide how many images are needed to explain those spaces clearly.
Do senior living renderings need to be photorealistic?
Not always. Higher-fidelity images are often helpful for resident and family pre-opening materials because they clarify scale, finishes, lighting, furniture, and comfort for non-technical viewers. Earlier planning, entitlement, or internal coordination may call for simpler visuals. The level of realism should match the audience, the design certainty, and the intended use of the image.
What should assisted living renderings show that generic multifamily images often miss?
Assisted living renderings often need to show circulation, accessibility and wayfinding cues, realistic furniture scale, supportiveness, amenity use, and the routines families are trying to imagine. Generic apartment imagery may focus mostly on style. Senior living images should also help viewers understand movement, comfort, social use, and how the environment supports daily life.
When is a virtual tour worth adding to a senior housing visualization package?
A virtual tour is worth considering when remote family review, out-of-market investor review, or spatial understanding is especially important. It can help people understand apartments, common spaces, outdoor areas, and transitions between rooms. It is not automatically necessary for every project, so the decision should come from the audience and the questions still unanswered by still images.
What project information should be approved before senior living renderings are created?
At minimum, the team should confirm the current floor plans, finish palette or finish schedule, furniture direction, operator programming, intended audience, and review authority. If accessibility-related details will be shown, the applicable requirements and review context should be confirmed before public use. Current source files and a clear approver list help prevent outdated layouts or materials from appearing in resident-facing imagery.
What to Do Next?
Start by defining who the renderings need to help: prospective residents, adult children, operators, leasing teams, investors, ownership groups, or an internal design team. Then list the spaces that answer the most important questions for that audience. A resident-facing list may include a model residence, dining room, lounge, wellness space, outdoor area, and arrival sequence. A renovation list may place more weight on entry, landscape, amenity upgrades, and the parts of the campus that need to feel different.
Next, confirm the source material. Identify the current plan set, finish selections, furniture direction, operator programming, site references, and any drawing revision dates that should control the work. Decide whether the images are conceptual, coordination-focused, or public-facing before choosing the level of detail. If remote review is important, consider whether still images answer the main questions or whether a 360 view or walkthrough would make spatial relationships clearer.
Finally, set one review path. Decide who comments, who resolves conflicts, and who approves the images for use. That step can be as important as the view list itself because senior living imagery often depends on design, operations, interiors, leasing, and marketing decisions coming together at the same time.
RM Design Studio
Ready to discuss your project?
Email your project brief to RM Design Studio, or call us to discuss the renderings you need.